| Code | Mount | Pack Size | Availability* | Price (ex GST) | |
|---|---|---|---|---|---|
| STP691-1 | Unmounted | Each | 0 in stock (?) | AU $298.00 | |
| STP691-1A | Mount A | Each | 0 in stock (?) | AU $324.00 | |
| STP691-1AFM | Mount AFM disc | Each | 0 in stock (?) | AU $324.00 | |
| STP691-1B | Mount B | Each | 0 in stock (?) | AU $324.00 | |
| STP691-1C | Mount C | Each | 0 in stock (?) | AU $324.00 | |
| STP691-1D | Mount D | Each | 0 in stock (?) | AU $324.00 | |
| STP691-1E | Mount E | Each | 0 in stock (?) | AU $324.00 | |
| STP691-1F | Mount F | Each | 0 in stock (?) | AU $328.00 | |
| STP691-1G | Mount G, custom | Each | 0 in stock (?) | P.O.R. | |
| STP691-1K | Mount K | Each | 0 in stock (?) | AU $324.00 | |
| STP691-1L | Mount L | Each | 0 in stock (?) | AU $324.00 | |
| STP691-1M | Mount M | Each | 0 in stock (?) | AU $324.00 | |
| STP691-1O | Mount O | Each | 0 in stock (?) | AU $324.00 | |
| STP691-1P | Mount P | Each | 0 in stock (?) | AU $324.00 | |
| STP691-1Q | Mount Q | Each | 0 in stock (?) | AU $324.00 | |
| STP691-1R | Mount R | Each | 0 in stock (?) | AU $324.00 | |
| STP691-1S | Mount glass slide | Each | 0 in stock (?) | AU $324.00 |
* Dispatch Times
| Estimated Dispatch | Details | |
|---|---|---|
| 0 in stock (Available for Back-Order) |
~3 weeks after our next supplier order (Dependent on supplier stock) |
We order from this supplier weekly. Ordering days are Tuesday and Wednesday. |
| Items in stock | Same day | For orders placed by 2pm AEST. Orders after 2pm may dispatch next business day. |
| Not enough stock (Partial Back-Order) |
Same day (in-stock items) ~3 weeks (back-ordered items) |
We'll dispatch what we have in stock. The remaining items will be included in the next supplier order. |
| No ETA | Unknown | The supplier has advised they cannot provide an accurate estimate. |
Delivery time depends on your locations and shipping method. Check estimated delivery below.
REFUNDS AND RETURNS
Please ask prior to returning any goods.
Defective products should be returned to us for replacement or credit. It is best to contact support with as much detail as possible, including pictures, so we can quickly resolve the issue. ProSciTech Pty Ltd complies with the ACCC guidelines, available here: https://www.accc.gov.au/consumers/consumer-rights-guarantees/repair-replace-refund
If you decide the item purchased does not suit your requirements, you may contact us to see if a return is possible. Some items may not be refunded, so please ask before purchase if you think a return may be necessary. The greater of $15 or 15% re-stocking charge will be levied on materials returned due to an error on the part of the customer. We try to keep this charge minimal, however returns do have a cost to us.
SHIPPING INFORMATION
Shipping and Handling charges are $25 for Australian orders; free for orders over $200 excluding NT.
In-stock items are generally sent same day. Orders are shipped shipped from Townsville, Queensland. Our couriers pick up from 2:30pm, so please place your order in plenty of time for processing and packing if you would like it sent same day. When items are not in stock, your order may be part-shipped. Items on back-order will be sent as soon as they become available.
ProSciTech will choose the courier for your order with consideration for the destination, value of parcel, weight and perishability of contents. It is our concern that our shipments reach you, our customer, rapidly and in good condition. Please contact us if you have any issues with a shipment and we will do our best to resolve it. Please keep in mind however, that our legal responsibility ends when goods are passed to the carrier.
| QLD, NSW, VIC, SA, TAS, WA Order Value | Shipping and Handling charges |
|---|---|
| Greater than $200 - (exceptionally heavy or Dangerous Goods excluded). | Free |
| Standard Shipping | $25 |
| Express Shipping | $35 |
| NT Shipping Options | Shipping and Handling charges |
|---|---|
| Express (1-4 Business Days) | $45 |
| Standard up to 1kg (2-8 Business Days) | $30 |
| Standard 1kg - 5kg (5-10 Business Days) | $45 |
| Standard 5kg - 10kg (5-10 Business Days) | $70 |
Delivery times:
Check your email for tracking details provided at time of shipping for updates of your parcel. We cannot guarantee delivery times, as this is outside of our control. The following are the delivery estimates as given by our couriers.
| Regular shipping | |
|---|---|
| Queensland | 1-3 business days |
| Sydney | 2-5 business days |
|
Melbourne, Adelaide, Hobart or Canberra |
3-10 business days |
|
WA, NT and non-metro areas |
4-10 business days |
| Express shipping | |
| Australia wide | 1-2 business days |
Urgent Orders:
Please request "Express" if you would like us to upgrade your shipment to express delivery. Providing your order fits in a satchel and/or is under 1kg in weight, we will ship your order either DHL, TNT or Express Post. Larger or heavy orders need a quotation for additional freight costs.
Dangerous goods:
See the table on the page for DG shipment costs by road. Please specify when ordering if you require air service (this can be prohibitively expensive). Please request a quotation. We will charge at cost.
Shipping to New Zealand Destinations
Orders are now shipped 'receipted delivery'.
Charges:
| Order Value | Shipping and Handling charges |
|---|---|
| Greater than $200 - (exceptionally heavy or Dangerous Goods excluded). | Free |
| Less than $200 | $30 Minimum Charge |
Heavy items (e.g. benchroll or large quantities of microscope slides) may require an additional freight charge - please ask for a quote.
DANGEROUS GOODS shipped to New Zealand: Dangerous goods will be air-freighted and the freight charge billed at cost. Typically, this will be about AUD $600AUD to New Zealand (Up to 2kg).
Delivery times: by air with signature on delivery, depending on courier, delivery can take 3-14 working days. Customs delays are unpredictable and can extend the delivery.
Shipping to Rest of World Destinations
Contact us for a quote for shipping.
Delivery times: by air with signature on delivery, depending on courier, delivery can be 7-21 working days. Customs delays are unpredictable and can extend the delivery time. Due to COVID19 delivery times have been extended through the couriers and are out of our control.
Import duties, taxes, and clearance fees are the responsibility of the recipient and may be charged upon arrival in your country. Please note that customs processing can cause delays beyond our control. We recommend checking with your local customs office for applicable charges prior to ordering.
DANGEROUS GOODS shipped outside Australia: Not available
GUARANTEE
All products are guaranteed as advertised. Defective products should be returned to us for replacement or credit. Please contact us prior to returning goods.
We endeavour to provide accurate descriptions, illustrations, prices and stock availability, but errors and omissions are possible. All quotations are E&OE (Errors and Omissions Excepted)
LIABILITY
All products are intended for laboratory applications only and the user assumes all responsibility involved in use and handling. We accept no liability for loss or damage resulting from the use or abuse of our products.
At ProSciTech, we make it easy for you to get an accurate quote for the products you're interested in. Our automatic quote generates a formal quote, including shipping, and sends it to your inbox.
If you can see the price and you are within Australia, you can generate a quote at any time.
Creating a quote:
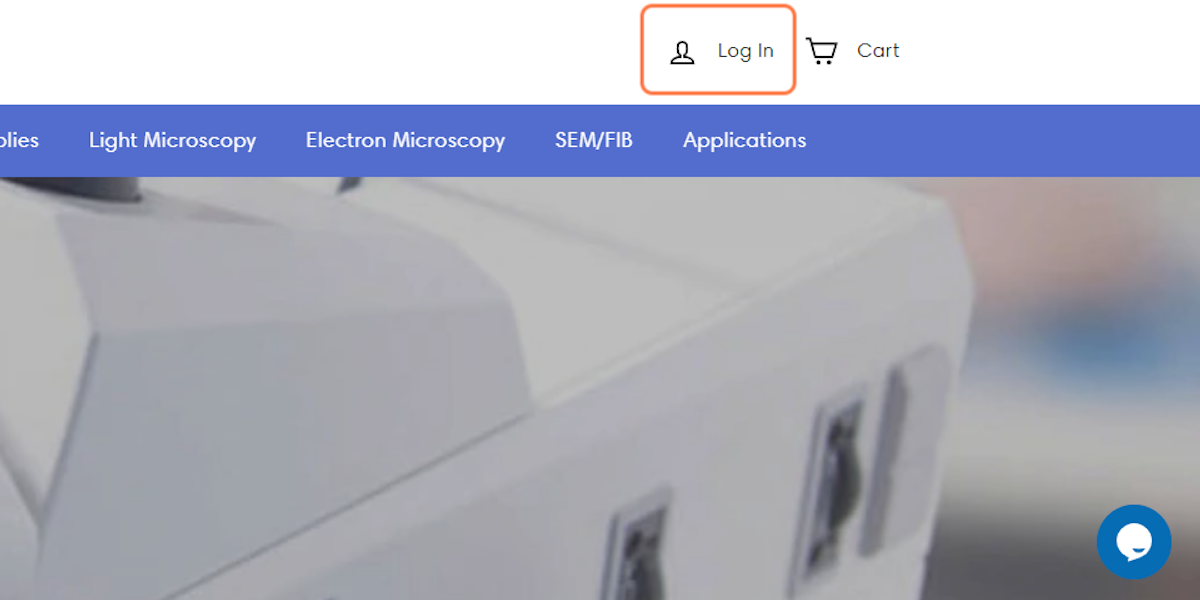
1. Click "Log In" to sign in or create an account
This is just an online profile. It will store your address(s) and online order history. It does not store credit card details. WE DO NOT SPAM.

2. If you do not have an account, click "create account"
Accounts are just a profile, and are identified by email address, not by name or institution.

3. Fill in your name, email address, choose a password, and click "Create"

4. Go to your account
When you a logged in, your email address will show as your profile

5. Enter your shipping details and click "Add address"
You can store more than one shipping address.

6. Go to the product page of the item(s) you would like quoted.

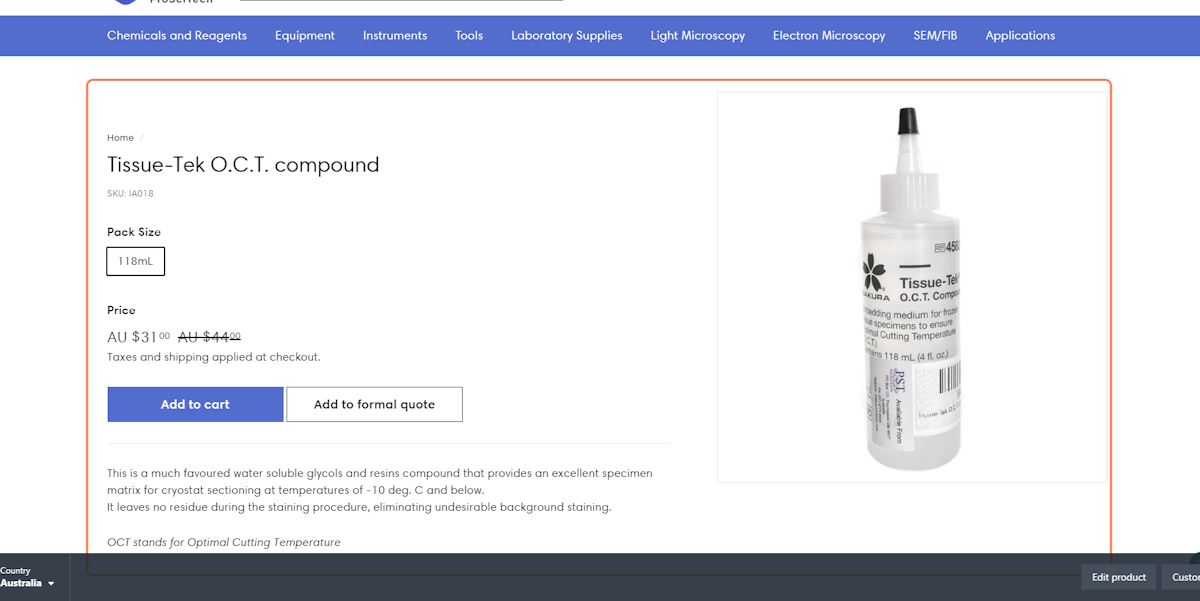
7. Click on "Add to formal quote"

Repeat for any additional products
8. Go to your cart

9. Check the product details and the address are correct

10. Click on your preferred shipping method
You can collect, choose regular shipping, or ship express for light orders.

11. Click on "Generate formal quote"

If your quote has generated successfully, it will show the following message : Thank you for your quote request. You will receive your quote via email shortly.

Trouble Shooting
- You do not receive the quote
Solution: If you received a message to say a quote has been sent, check your spam folder. If you have a very strict firewall, please email to ask the quote is sent direct. - No discount applied
Solution: Check the discount, as most discounts apply to online orders only. - Incorrect freight charge (eg there is freight charged on an order over $200)
Solution: check you are logged in and you have entered your shipping address.
For Manual Quotes:
In some cases, a manual quote may be necessary. This could be if the product doesn't have a price listed online, if you're located outside of Australia, or if your total order will exceed $1000.
To request a manual quote, simply click the "Request Quote" button and submit a support ticket with your shipping address and phone number. Alternatively, you can email us directly at support@proscitech.com. Our team will review your request and send you a quote as soon as possible, generally 1-2 days.


